|
Getting your Trinity Audio player ready...
|
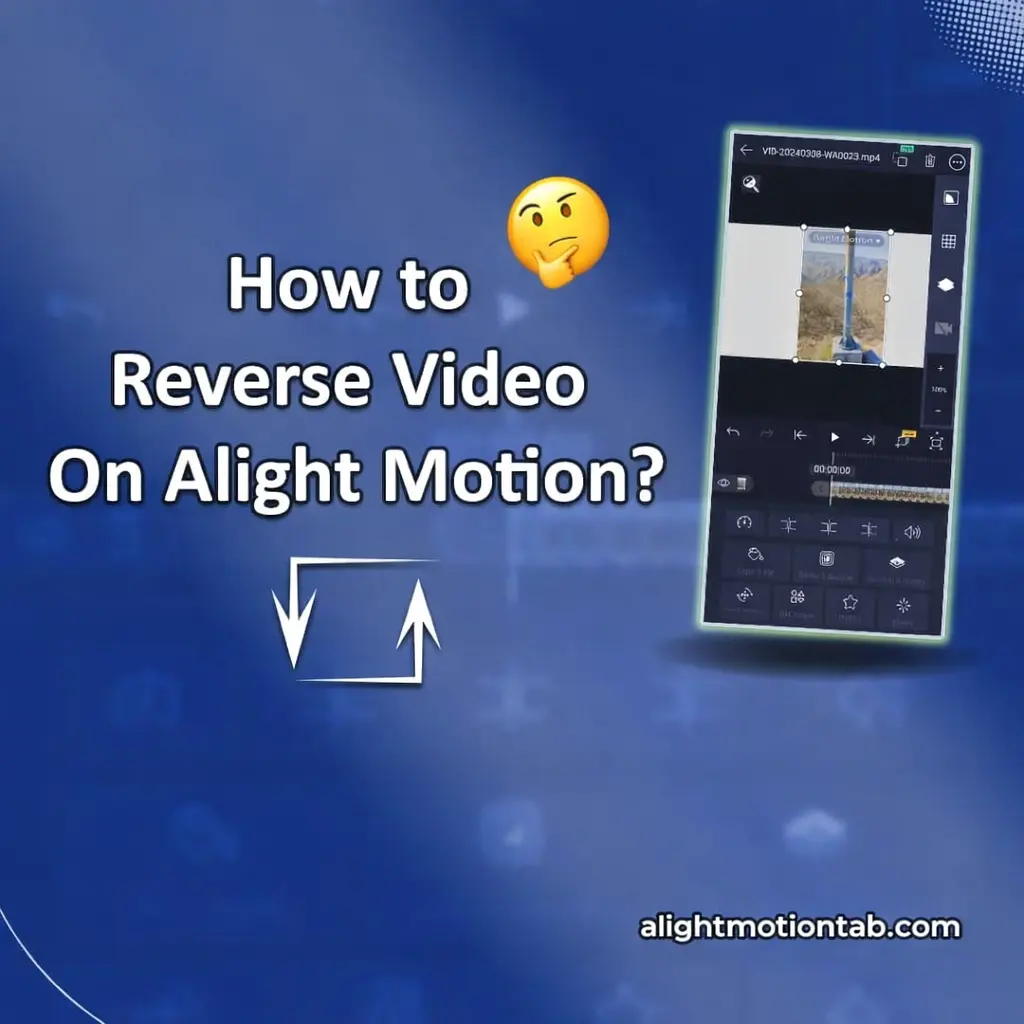
How to Reverse a Video on Alight Motion – Easy Step-by-Step Tutorial (2026)
Reversing a video in Alight Motion is a powerful creative technique for mobile video editing. It helps creators produce engaging social media content, motion graphics, and cinematic effects. With professional features like keyframes, speed control, and layer-based editing, Alight Motion makes it easy to apply reverse effects for viral videos, transitions, and visual storytelling. This guide teaches you how to reverse a video on Alight Motion step by step, along with advanced tips and common use cases to achieve high-quality, professional results.
How To Reverse a Video On Alight Motion?
Reversing a video on Alight Motion follows a simple but structured workflow. The process includes importing your clip, placing it on the timeline, duplicating it for safety, applying the reverse function, and arranging it for smooth playback.Following these steps correctly ensures better results, fewer errors, and more creative flexibility.
Import your video clip
The first step is to import your video into Alight Motion.Open the Alight Motion app and create a new project. Select the appropriate resolution, frame rate, and aspect ratio based on where you plan to publish your video. For example, use 9:16 for Instagram Reels and TikTok, or 16:9 for YouTube.
Tap on the media import option and select the video file from your device. Allow the app to fully load the clip before moving to the next step. This ensures smooth editing and prevents lag or playback issues.Choosing high-quality source footage is important. Better input quality results in smoother reverse motion and cleaner final exports.
Add the clip to the timeline
Once your clip is imported, drag it onto the timeline.
The timeline is where all editing actions take place. Here, you can preview your video frame by frame, trim unnecessary parts, and organize layers. Before applying reverse, it is recommended to trim the clip to remove unwanted sections.This step also helps you focus only on the part of the video you want to reverse, which improves workflow efficiency and reduces project complexity.
Duplicate the clip
Duplicating the clip is a best practice in professional editing.
By duplicating, you keep an original version while applying reverse to the copied clip. This allows you to compare results, create forward-to-reverse transitions, and protect your original footage.To duplicate, long-press on the clip and select the duplicate option. The duplicated clip will appear as a separate layer on the timeline.This technique is especially useful for creating rewind effects, loop transitions, and mirrored motion sequences.
Adjust the reversed clip
Select the duplicated clip and open clip settings to enable the reverse or playback direction option. Preview the Reversed a video on Alight motion to ensure smooth motion and proper timing, and adjust speed or trim if needed. Since reversing also flips the audio, many editors mute it and add background music or sound effects for a more professional result.
Arrange and edit
After reversing the clip, arrange it on the timeline according to your creative goal. You can place it before or after the original clip to create rewind effects, smooth loops, or seamless transitions. Layer stacking can also be used to produce mirrored motion and visual effects. To improve quality, apply keyframes, motion blur, color correction, and blending modes. These tools help transform a simple reverse clip into a smooth, professional-looking edit.
Some of the Best Uses for Reversing Videos
Learning how to reverse a video on Alight Motion opens up multiple creative possibilities. Below are some of the most effective and popular uses:
1. Creative Transitions
Reverse clips are commonly used for seamless transitions between scenes. This technique makes cuts look smoother and more cinematic.
2. Magic and Illusion Effects
Reversing footage can create illusion-based content, such as objects appearing to return to your hand or liquids flowing upward.
3. Rewind Effects for Storytelling
You can simulate rewind scenes to show flashbacks or to emphasize mistakes and corrections.
4. Social Media Engagement
Short-form platforms favor creative effects. Reverse clips often increase watch time and engagement.
5. Motion Graphics Enhancement
Combining reverse clips with motion graphics improves visual storytelling and makes edits look more professional.
Additional Tips and Tricks for Using Alight Motion Reverse Method
To get the best results when you reverse a video on Alight Motion, consider the following expert tips:
Use high-quality source videos
Higher resolution clips maintain better visual quality when reversed.
Apply motion blur carefully
Motion blur can hide harsh transitions and make reversed motion look smoother.
Sync with audio manually
Audio does not always reverse automatically. You may need to mute, replace, or manually edit audio for best results.
Use keyframes for precision
Keyframes allow you to control speed, opacity, and transitions between reversed and normal clips.
Optimize performance
If your device slows down, reduce preview quality while editing and render at full quality during export.
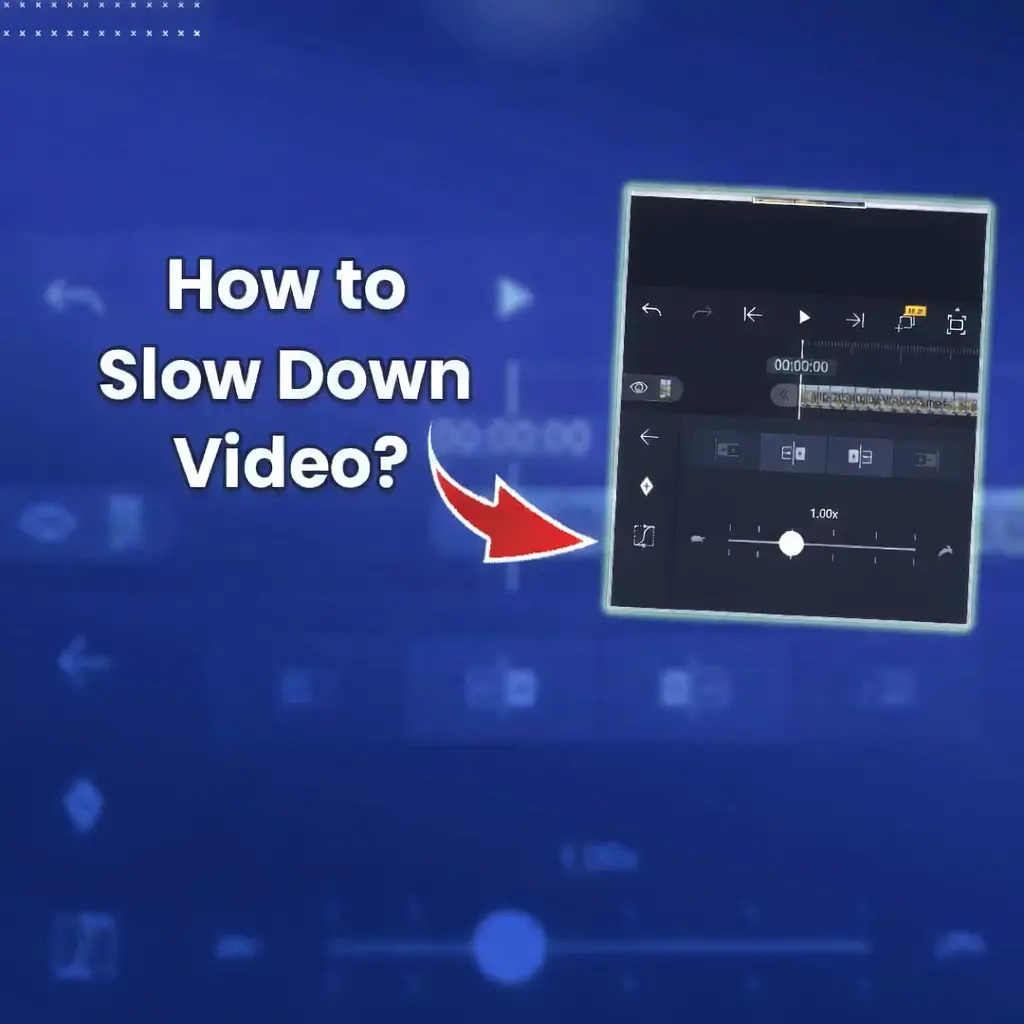
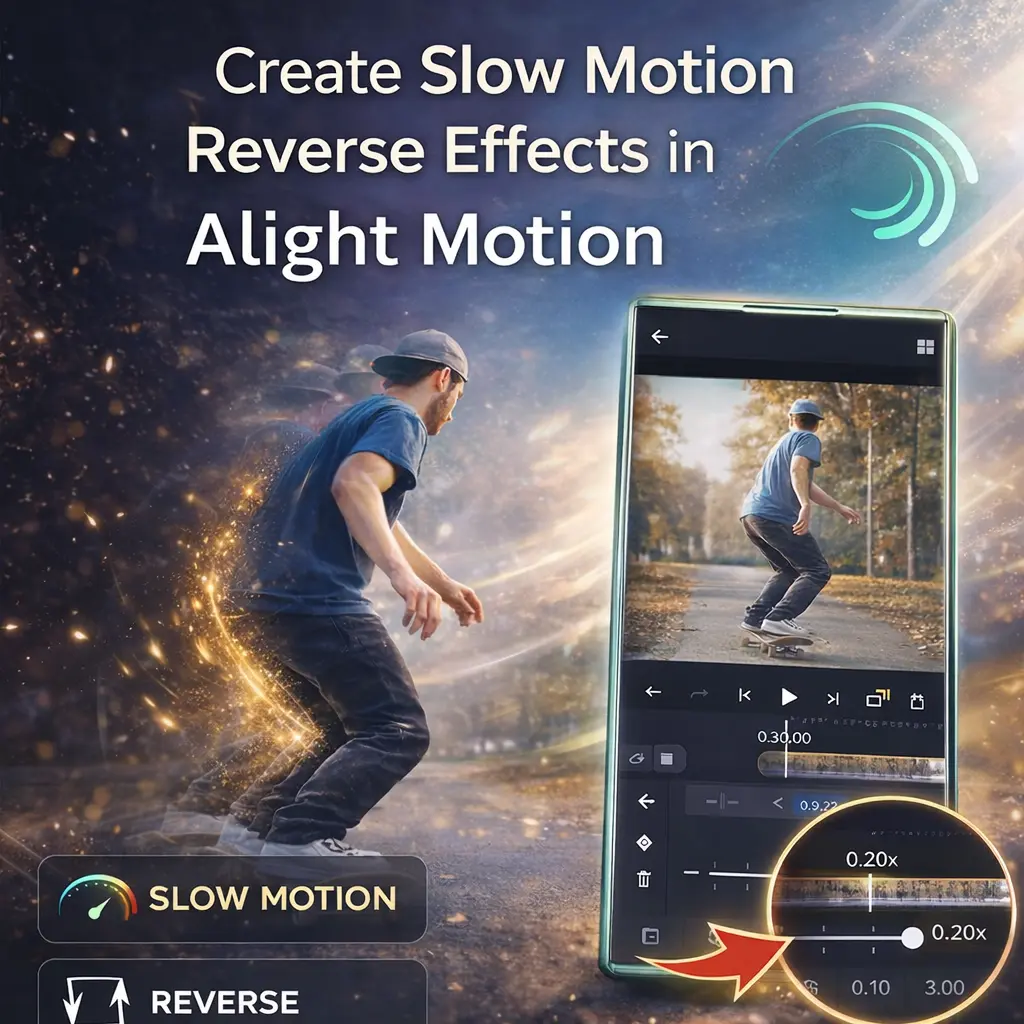
How to Slow Down a Video on Alight Motion
Slowing down videos in Alight Motion works perfectly with reverse effects to create cinematic results. By adjusting speed controls and using speed keyframes, you can add dramatic slow-motion to specific parts of a clip. Combining slow motion with reverse enhances transitions and storytelling. For smooth results, use high frame rate footage and always preview clips before exporting.
Conclusion
Mastering how to reverse a video on Alight Motion gives you a powerful creative tool for professional video editing. Whether you are creating social media content, motion graphics, or storytelling videos, reverse effects can significantly improve visual appeal.When combined with proper transitions, motion blur, and speed control, reversed clips can help your content stand out and achieve better engagement and quality.By following the correct steps—importing your clip, adding it to the timeline, duplicating, applying reverse, and arranging your layers you can produce smooth and professional reversed videos.