|
Getting your Trinity Audio player ready...
|
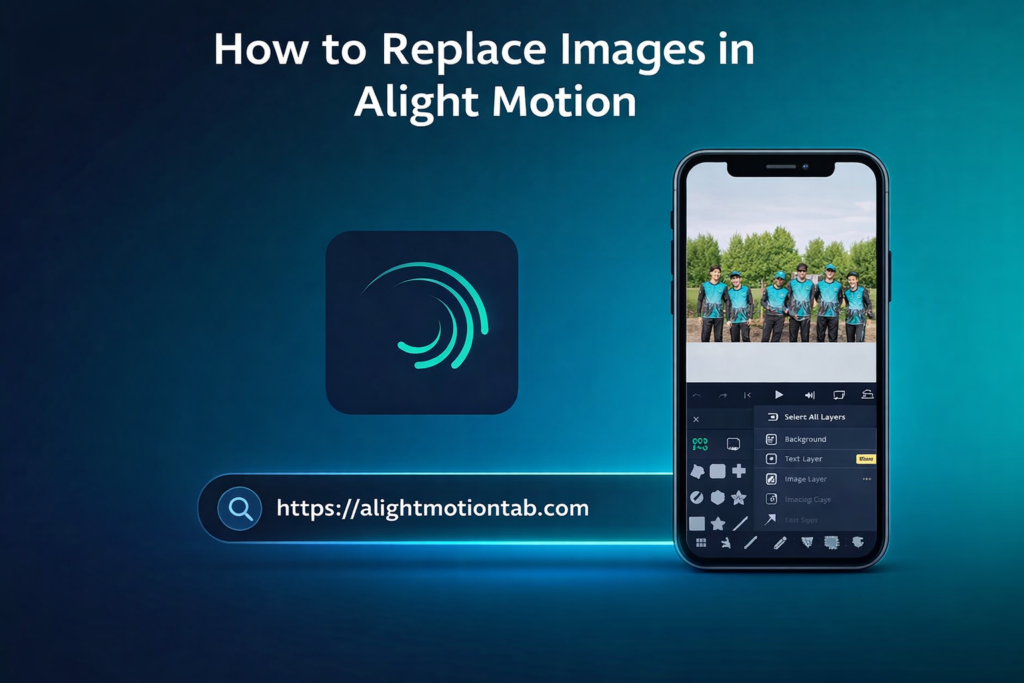
How to Replace Images in Alight Motion
Replacing images in Alight Motion is one of the most common editing tasks — whether you’re customizing a template, editing a preset, or updating a reel project for social media.
If you’ve been searching for:
You’re in the right place.
In this complete 2026 beginner-friendly guide, I’ll walk you through everything step-by-step. I’ve worked with presets, client projects, and XML templates extensively — so I’ll also share practical tips to help you replace images without breaking your animations.
Why Replace Images in Alight Motion?
Replacing images isn’t just about swapping photos. It’s about customizing content efficiently while maintaining design quality.
1. Customize Templates Easily
Most creators rely on ready-made presets and XML templates. Instead of building animations from scratch every time, you simply replace the image layer while keeping the transitions and effects intact.
2. Improve Visual Quality
If your image is low resolution or poorly cropped, it affects the overall professionalism of your video. Replacing it with a high-quality PNG or JPG instantly upgrades your final output.
3. Speed Up Client Work
If you edit reels daily or work with multiple clients, learning how to change pictures in Alight Motion quickly can dramatically improve your workflow.
How to Replace Images in Alight Motion (Step-by-Step)
Let’s go through the safest and most reliable method.
Step 1: Open Your Project
Launch Alight Motion and select the project where you want to replace the image.
Step 2: Select the Correct Image Layer
Inside the timeline:
Many beginners accidentally delete the wrong layer. Always double-check before making changes.
Step 3: Replace the mage
You have two main approaches depending on your project type.
Method A Replace With a New Image (Basic Method)
This method works perfectly for basic projects.
Method B Replace Image Inside Template or XML (Advanced Method)
If you’re working with presets or XML files:
Keep animation and keyframes untouched
Best Image Size & Format for Alight Motion
Choosing the right format improves performance and output quality.
Recommended settings:
Large files can cause lag, especially on mid-range devices.
Common Problems While Replacing Images
Many tutorials skip this section — but this is where most users struggle.
Image Looks Stretched
Your aspect ratio doesn’t match the project. Use uniform scaling and lock proportions.
Animation Disappears
You deleted the original layer with keyframes. Instead, replace the image inside the same layer.
Image Not Visible
The image may be inside a hidden group or behind another layer.
App Lagging
Your image resolution is too high. Compress it before importing.
Pro Tips (From Practical Editing Experience)
From real editing experience, these tips will save you time:
Small habits like these prevent major mistakes.
Add Animation After Replacing the Image
Simply replacing an image isn’t enough for professional results.
Enhance it with:
Professional editors always refine motion after replacing visuals.
Latest 2026 Improvements in Alight Motion
Recent updates have made image editing smoother with:
These improvements make replacing images more stable than older versions.
|
Pros
|
Cons
|
|---|---|
Conclusion
Learning how to replace images in Alight Motion is a fundamental editing skill especially if you work with presets, templates, or client projects.
Once you understand layer structure, grouping, and scaling, you’ll be able to customize projects quickly and confidently without damaging animations.
Master this skill in 2026, and your editing workflow will become smoother, faster, and more professional.