|
Getting your Trinity Audio player ready...
|
Learn How to Do Transitions in Alight Motion Complete Guide 2026!
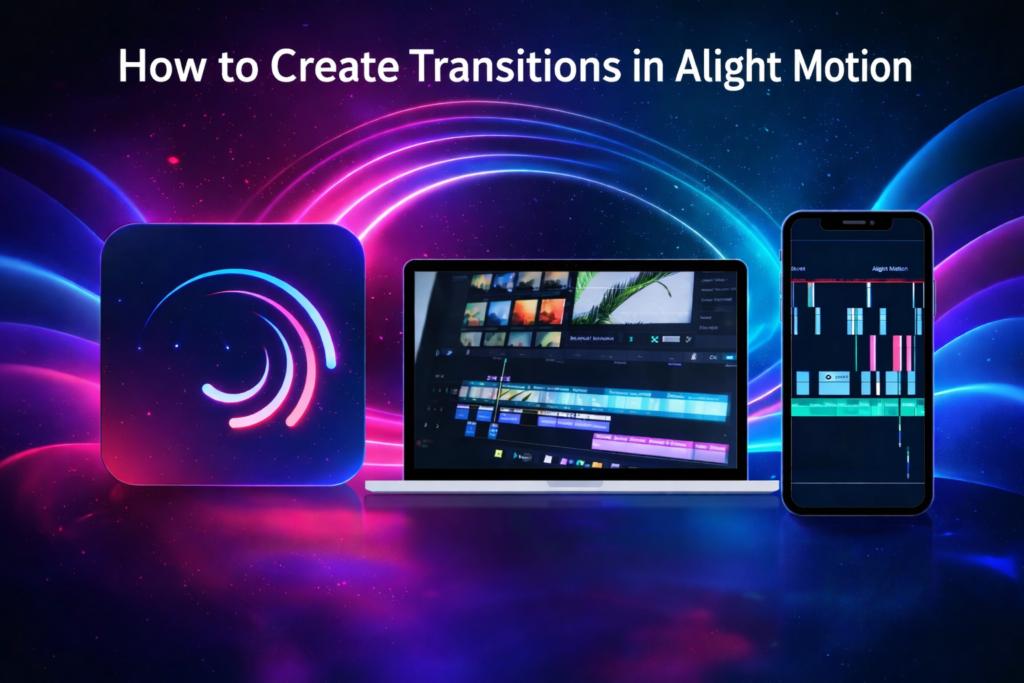
Transitions make your videos smooth and professional. They connect clips nicely instead of jumping from one scene to another. In this guide, you’ll learn everything from easy beginner tricks to advanced effects in the Alight Motion so your videos look amazing on YouTube, Instagram, TikTok, or anywhere.
What Is a Transition in Video Editing?
A transition is a visual effect that moves one clip into another. Instead of a hard cut, transitions make your video flow naturally.
Examples:
- Fade in or out
- Slide
- Zoom
What Is an Alight Motion Transition?
In Alight Motion, you can create your own transitions using keyframes, effects, and motion controls. Transitions in Alight Motion This is better than basic editors because you can design the exact look you want.
Why Use Transitions in Your Videos?
Transitions are important because they:
- Make clips blend smoothly
- Make videos look professional
- Help tell a story
- Keep viewers watching longer
Without transitions, videos can feel sudden or amateurish.
Types of Transitions in Alight Motion
Alight Motion offers many styles of transitions. Here are the main ones:
H3: Smooth Transitions
- Zoom
- Slide
- Spin
- Camera moves
These are perfect for cinematic edits and social media reels.
Custom Transitions
You can make your own effects with keyframes:
- Move position
- Change scale
- Rotate
- Adjust opacity
Custom transitions let you get creative.
Blur & Motion Transitions
- Motion blur
- Radial blur
- Directional blur
Great for fast, energetic videos like music edits or action clips.
Shake Transitions
- Simulates camera shake
- Perfect for gaming, action, or dramatic scenes
Fade Transitions
- Fade in/out
- Crossfade
These are simple, clean, and great for storytelling.
Multiple Ways to Use Transitions in Alight Motion
Method 1 – Keyframes
Animate clip properties like position, scale, or rotation to create your own transitions.
Method 2 – Built-in Effects
Use effects like:
- Blur
- Zoom
- Distortion
- Motion
You can combine them for cooler results.
Method 3 – Presets or Templates
Use ready-made transitions or templates to save time and make your videos look professional quickly.
Step-by-Step Guide on How to Do Transitions
Create a New Project
Choose resolution, frame rate, and background color. Standard: 1080p, 30fps.
Import Clips or Images
Add your videos or pictures and arrange them in the order you want.
Arrange Clips on Timeline
Place clips side by side. The spot where they meet is the transition point.
Add Keyframes for Custom Transitions
Animate:
- Position
- Scale
- Rotation
- Opacity
Apply Transition Effects
Add effects like blur, motion, or distortion to make transitions look smooth and professional.
Use Graphs to Smooth Transitions
Graphs control speed. Adjust curves to make transitions look natural and cinematic.
Preview & Adjust
Play your video and tweak timing, effects, and keyframes.
Export Your Project
Save your video with high-quality settings: 1080p, 30–60fps, MP4.
How to Do Transitions Manually in Alight Motion
Instead of presets, you can create transitions manually using keyframes and effects. This gives full creative control.
How to Customize Transition Effects
- Select the clip
- Open the effects panel
- Adjust settings
- Adjust settings
How to Apply Transition Effects on Audio
- Audio fades
- Audio fades
- Sync effects with music
This makes the audio blend smoothly with visuals.
How to Make Smooth Transitions
Steps for Smooth Transitions
- Correct keyframe spacing
- Graph curve adjustments
- Motion blur
- Fine-tune timing
Conclusion
Transitions make your videos smooth, professional, and fun to watch. With Alight Motion, you can create everything from simple fades to advanced custom effects. Keep practicing, and your edits will look amazing.
Transitions in Alight MotionTransitions in Alight MotionTransitions in Alight MotionTransitions in Alight MotionTransitions in Alight Motion