|
Getting your Trinity Audio player ready...
|
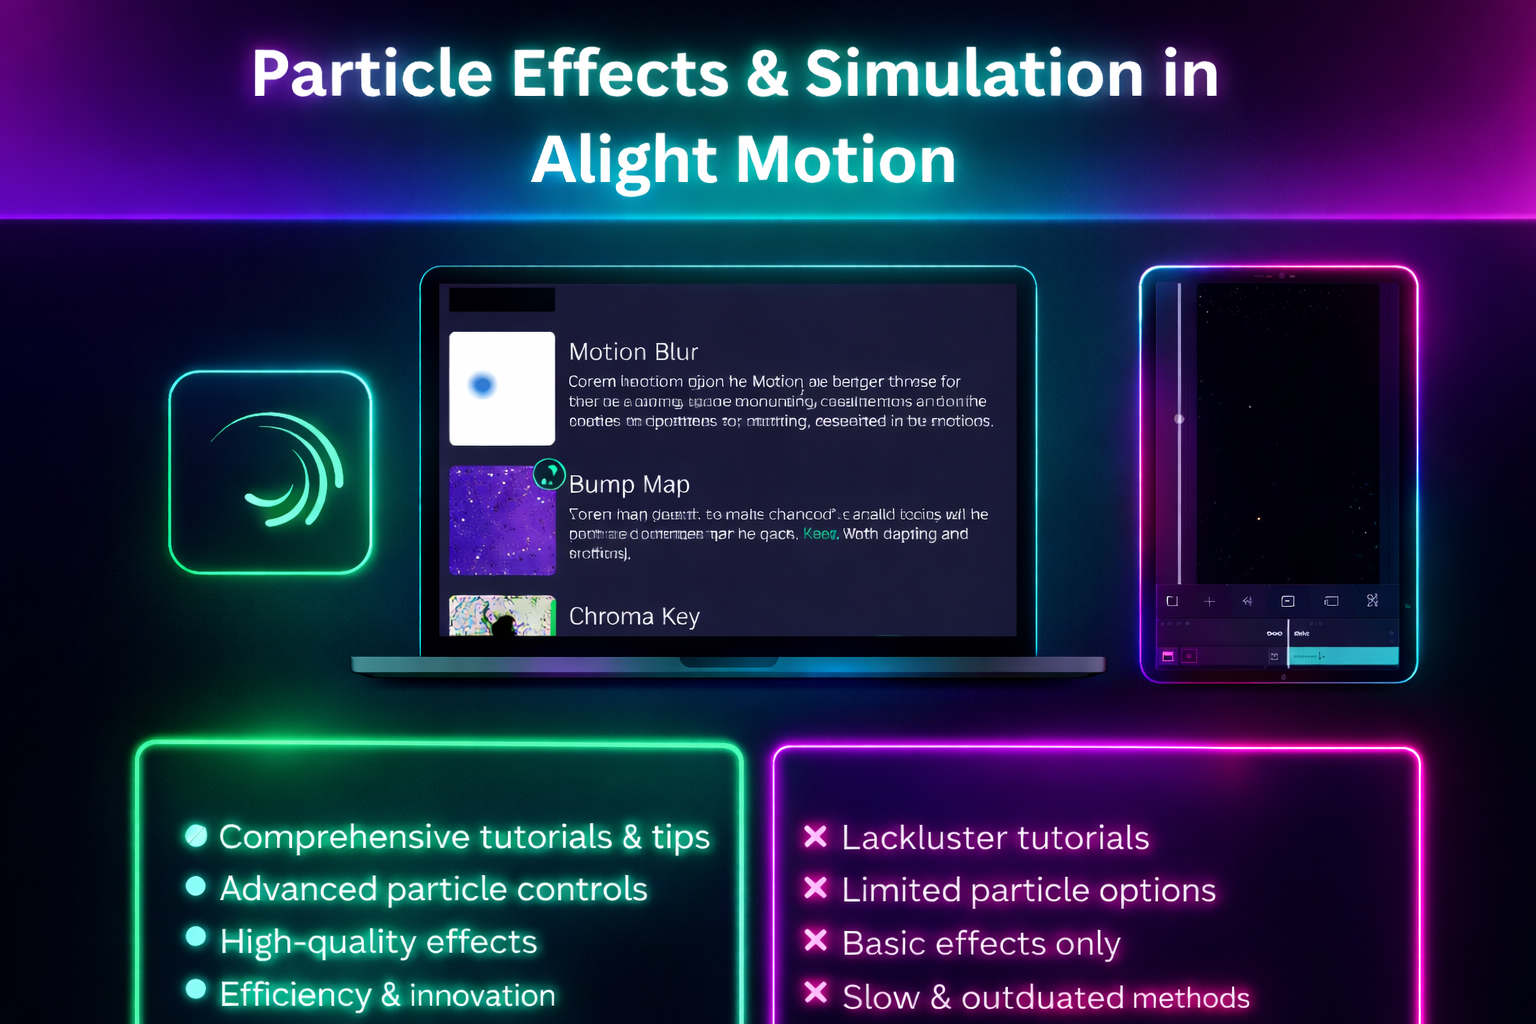
Particle Effects & Simulation in Alight Motion for Stunning Videos
If you want to give your videos a next-level cinematic look, then Particle Effects & Simulation in Alight Motion are a powerful tool you shouldn’t ignore. Whether you’re creating reels, YouTube edits, or anime-style videos, these effects can instantly improve your content quality.
In this guide, you’ll learn step-by-step how to use Incredible Particle Effects & Simulation in Alight, adjust particle emitter settings, and create stunning visuals in a simple and beginner-friendly way.
What Are Particle Effects in Alight Motion?
Particle Effects & Simulation in Alight Motion are small visual elements like dust, smoke, fire, sparkles, or light particles that move naturally within your video.
In simple words:
- These effects make your video feel alive, dynamic, and more cinematic.
Examples:
These are part of particle simulation, which is widely used in professional video editing.
Where to Find the Particle Emitter in Alight Motion
To create particle effects in Alight Motion, you need to use the Particle Emitter tool.
Follow these steps:
That’s it Now you can fully customize your particle emitter settings
Understanding Particle Emitter Settings
This is the most important part if you want to create professional particle effects. Particle Effects & Simulation in Alight Motion These settings control how your particles behave and look on screen.
Spawn Rate
The spawn rate controls how many particles appear at once.
Particle Lifespan
This setting controls how long each particle stays visible.
Speed and Direction
This controls how fast particles move and in which direction.
Size and Size Randomness
Controls the size of particles and their variation.
Opacity and Fade
Controls the transparency of particles.
Gravity
Gravity controls whether particles move up or down.
Adds real-world physics feel to your video
5 Particle Simulation Effects You Can Build Right Now
Now let’s look at some popular particle effects in Alight Motion that you can create easily 🔥
Golden Dust Overlay for Cinematic Intros
Best for:
Settings ideas:
Perfect for cinematic particle effects
Ember and Fire Simulation
Best for:
Settings:
Great example of a fire particle effect in Alight Motion
Snowfall for Seasonal Content
Best for:
Settings
Creates a realistic snow particle effect
Magical Energy Burst
Best for:
Settings
Ideal for anime particle effects
Floating Bokeh Particles for Music Videos
Best for:
Settings:
Gives a smooth bokeh particle effect
Keyframe Animation with Particle Effects
To take your edits to the next level, use keyframe animation in Alight Motion.
With keyframes, you can:
This gives you advanced animation control
Layering Particle Simulation with Other Effects
For the best results, combine particle effects with other tools.
Try combinations like:
This layering makes your video look more professional and high-quality
Common Mistakes to Avoid
Simple rule:
“Balanced particle effects create better videos.”
Why Particle Effects Matter for Video Performance
Particle effects in video editing are not just for decoration.
They help to:
That’s why they are part of viral video editing techniques
Conclusion
Particle effects might seem like a small feature, but when used correctly, they can completely transform Particle Effects & Simulation in Alight Motion your videos.
Keep experimenting with particle emitter settings, try different styles, and practice regularly. Particle Effects & Simulation in Alight Motion With time, you’ll be able to create professional-level edits in Alight Motion