How to Add
Getting your Trinity Audio player ready...

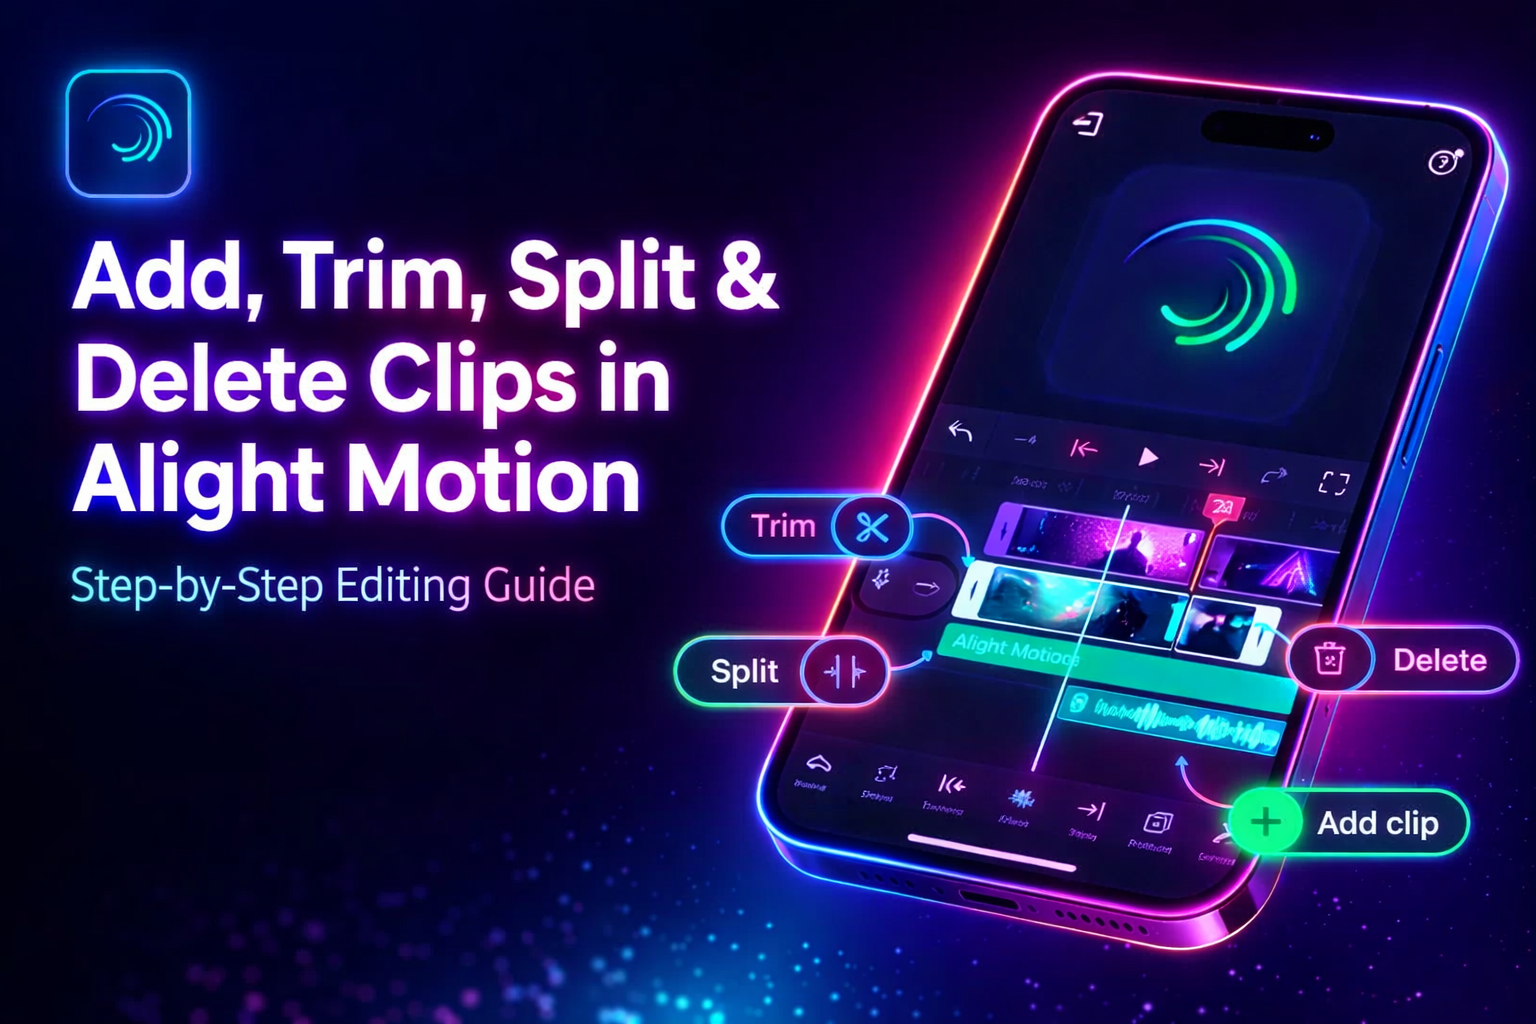
How to Add, Trim, Split, and Delete Clips in Alight Motion (Beginner-Friendly Guide)

Introduction

With the help of Alight Motion and other similar applications, editing your videos from mobile phones has become easy for many people. But as a newbie, doing some basic things like How to Add trimming or splitting the clips might appear difficult to you.

Don’t worry! You will find all that you need to do with clips in this guide

.Step-by-step explanation of the process will ensure you learn everything about How to Add adding, trimming, splitting, and removing clips in the easiest manner possible.

Understanding Clip Editing in Alight Motion

What is a “Clip”?

In Alight Motion, a clip is any video, image, or audio you add to your timeline.
Think of clips as building blocks. You arrange and edit them to create your final video.

How to Add

Trim vs Split vs Delete vs Crop

  • Trim → Cut from the beginning or end
  • Split → Cut a clip into two parts
  • Delete → Remove the clip completely
  • Crop → Adjust what part of the video is visible

Each tool has a different purpose, and you’ll use them together while editing.

Why Clip Editing is Important

Good editing makes a huge difference. It helps you:

  • Remove unnecessary parts
  • Keep your video smooth and engaging
  • Make your content look clean and professional

Without proper editing, videos can feel messy or boring.

Before You Start Editing

Make Sure:

  • Your app is updated
  • Your phone has enough storage
  • Your device is running smoothly

Set Up Your Project

  • Open Alight Motion
  • Tap the “+” button
  • Choose resolution (1080p recommended)
  • Select frame rate (30fps or 60fps)

Import Your Clips

  • Tap the Add Media button
  • Select videos or images from your gallery
  • Your clips will appear on the timeline

How to Add Clips in Alight Motion

  • Create a new project
  • Import your media
  • Clips will automatically appear in the timeline
  • Drag and arrange them in your desired order

Simple as that.

How to Trim Clips (Step-by-Step)

  • Tap on the clip in the timeline
  • Drag the edges (start or end)
  • Remove unwanted parts
  • Preview your edit
  • Save and continue

Tip: Always preview before finalizing.

Advanced Trimming Tips

  • Zoom into the timeline for precise cutting
  • Trim multiple clips together for sync edits
  • Separate audio from video for better control

How to Split Clips

  • Move the playhead where you want to cut
  • Select the clip
  • Tap the Split tool

Now you’ll have two separate clips. You can edit both parts independently.

Creative Uses of Splitting

  • Remove unwanted sections
  • Highlight important moments
  • Add transitions between clips
  • Create short videos or reels

How to Delete Clips

  • Tap the clip and press delete
  • Select multiple clips and delete all together
  • Remove unused layers to keep things clean

Pro Tips for Better Editing

  • Export videos in high quality (1080p or higher)
  • Use timeline zoom for accurate editing
  • Keep your layers organized

Common Mistakes to Avoid

  • Trimming important parts accidentally
  • Placing the playhead in the wrong spot
  • Deleting clips without backup

Always double-check your edits.

Fix Common Problems

  • Clip not trimming or splitting → Make sure it’s selected
  • Can’t edit → Check if the layer is locked
  • App lagging → Close background apps and restart your device

Alight Motion vs Other Apps

  • Alight Motion stands out because:
  • It offers more advanced tools
  • Gives better control over editing
  • Produces professional-quality videos

Quick Workflow

  • Add clips
  • Trim unwanted parts
  • Split where needed
  • Delete extra clips

Done in minutes.

Conclusion

Once you understand the How to Add basics, editing in Alight Motion becomes super easy.

Trimming, splitting, and deleting clips are simple tools but they make a big difference in creating clean and professional videos.

Keep practicing, and you’ll get better with every edit.

Frequently Asked Questions (FAQs)

Similar Posts

Leave a Reply

Your email address will not be published. Required fields are marked *