|
Getting your Trinity Audio player ready...
|
Touring the Alight Motion Interface and Layout: A Complete Guide for 2026.
If you are new to Alight Motion or if you have been using Alight Motion Interface and Layout for a while understanding the Alight Motion interface properly can completely change the way you edit videos with Alight Motion. This guide will walk you through every part of the Alight Motion layout in a way so you can edit videos with Alight Motion faster smoother and more professionally with Alight Motion.
Home Screen: Where Every Alight Motion Project Starts
The moment you start using the Alight Motion Interface and Layout application, you will see the Alight Motion home screen. The Alight Motion home screen is the very first interface for every single Alight Motion project.
Here, you can:
The “+” button is where your editing journey begins. You choose resolution, frame rate, and background before entering the main workspace.

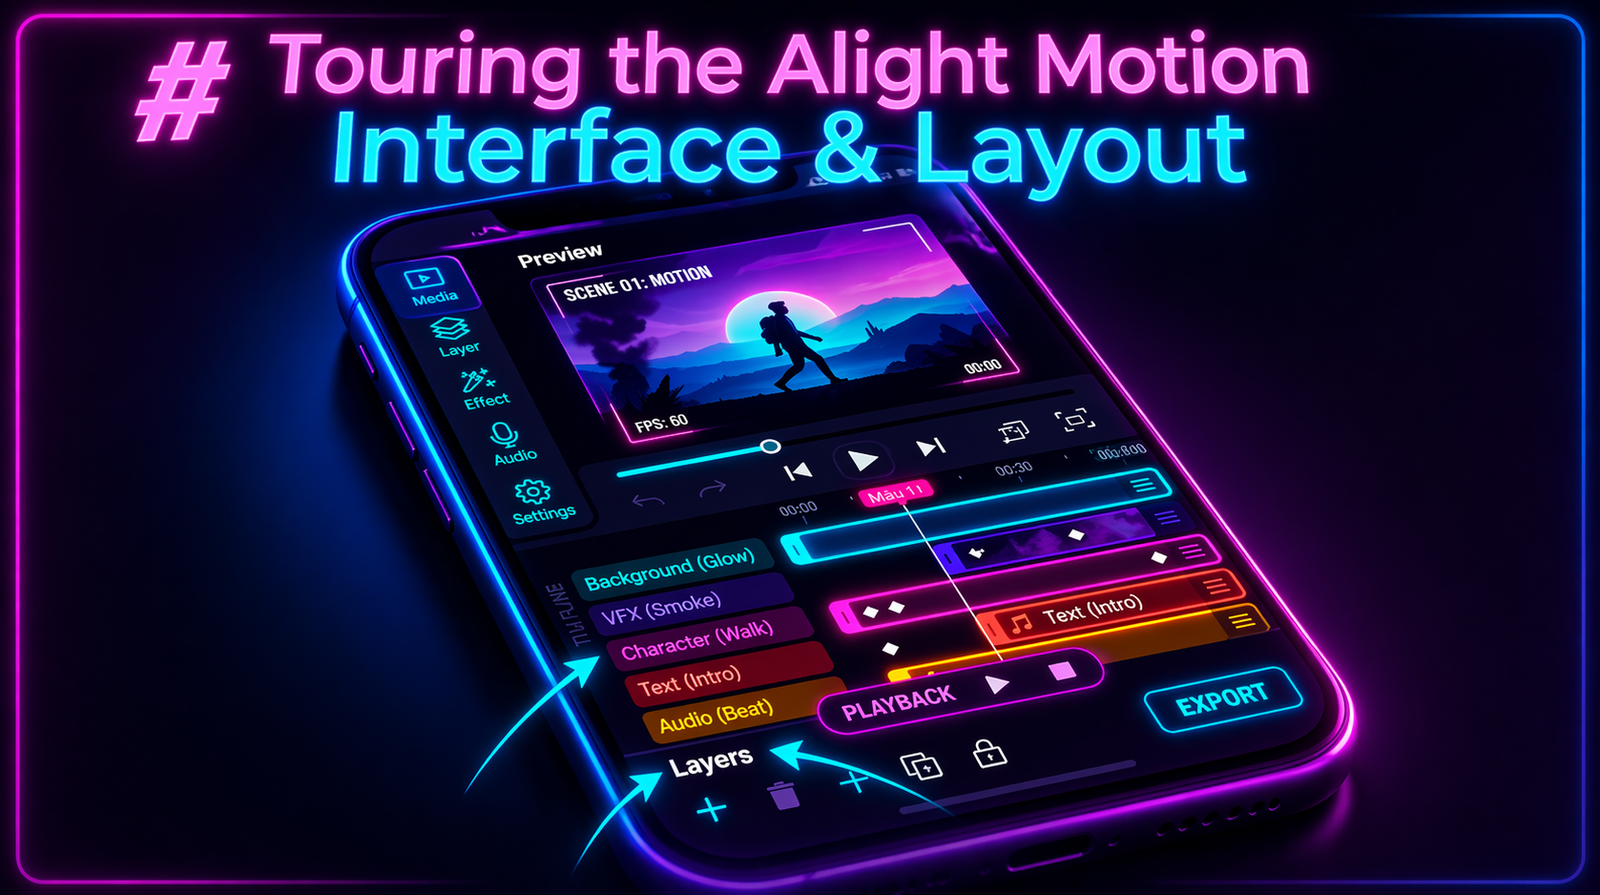
The Project Workspace: Your Main Editing Environment
Once inside a project, you enter the workspace. This is where all the editing happens.
It is divided into different sections that work together.
The Preview Window
The preview window shows your video in real time. Whatever changes you make will appear here.
You can:
It helps you understand how your final video will look.
The Top Toolbar
At the top, you’ll find important controls like:
These tools help you control your editing process and fix mistakes quickly.
The Timeline: The Heart of Alight Motion
The timeline is the most important part of the interface. This is where your entire video is built.
Timeline Structure and Navigation
The timeline shows:
The Add Layer Panel: Bringing Content Into Your Project
The “Add Layer” button lets you insert new elements.
Options include:
This is how you build your project step by step.
The Properties Panel: Editing What You Select
Whenever you select a layer, Alight Motion Interface and Layout the properties panel appears. This is where you customize everything.
Transform Properties
You can adjust:
This helps you place elements exactly where you want.
Color and Blending Controls
You can change:
These tools help you create professional-looking visuals.
The Effects Library
Alight Motion includes many effects like:
Text Layers: Typography in Alight Motion
Text is a powerful part of editing.
You can:
Good typography makes your videos more engaging and professional.
Vector Shape Tools: Drawing Inside the App
With vector tools, you can create custom shapes directly inside the app.
You can design:
This makes Alight Motion more than just a video editor.
Audio in the Timeline: Sound Editing Tools
Audio is just as important as visuals.
You can:
The Export Screen: Getting Your Video Out
Once your project is ready, you export it.
You can choose:
Tips for Getting Around the Interface Efficiently
Here are some simple tips:
Conclusion
Learning the interface of Alight Motion is the first step toward becoming a better video editor.Alight Motion Interface and Layout Once you understand where everything is and how it works, editing becomes faster, easier, and more enjoyable.
Keep practicing, explore tools, and try different features to improve your skills.